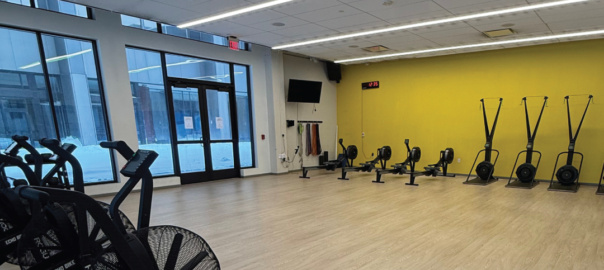
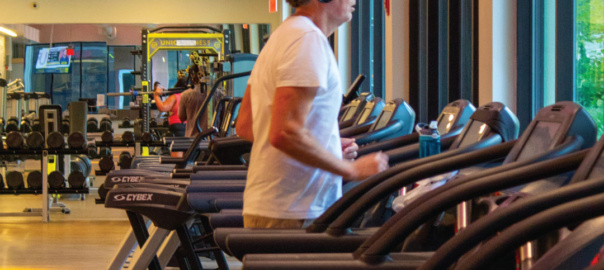
We at Fleet Feet Pittsburgh are excited to return to Union Fitness for our group long runs on
Sunday, September 7 and Sunday, November 2.
Our partnership with Union Fitness is a natural fit. Both of our organizations are dedicated to
promoting health, wellness and togetherness in Pittsburgh. Teaming up allows us to provide
even more opportunities for people to move, connect and grow stronger as a group. By bringing
runners into Union Fitness’s inspiring space, we’re not just creating a starting point for long runs
— we’re building a bridge between two communities who share a passion for fitness and a
commitment to helping people achieve their goals.
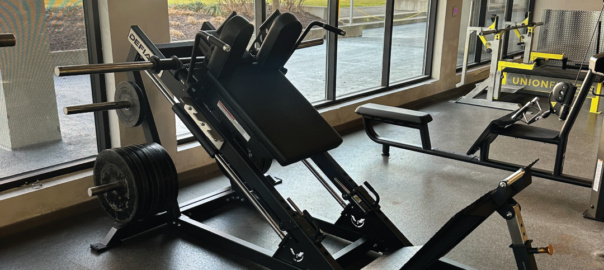
In addition to beginning long runs from the gym in the past, Nova Place is home to our annual
Holiday Lights Charity Run. This community event combines the spirit of the season with a
meaningful cause. Each year, this run raises funds for a local charity while offering participants a
tour of Pittsburgh’s holiday lights. We invite runners and walkers of all levels to join through
options of 2, 4, or 6 miles. This year, the Greater Pittsburgh Community Food Bank is our charity
Partner.
Starting from Nova Place, our route will showcase Pittsburgh’s best holiday displays. Highlights
include running through a European-style Christmas market, a loop around the downtown
business district and, of course, a view of the iconic home of the Steelers. The event concludes
back at Nova Place, where participants can enjoy post-run refreshments and refuel. Last year’s
event drew more than 300 attendees.
Save the date: this year’s Holiday Lights Charity Run, sponsored by Union Fitness, will be
Thursday, December 18.
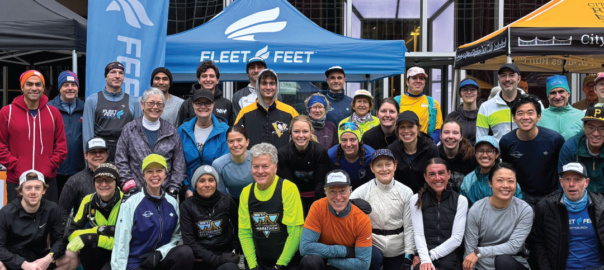
About the Fleet Feet Running Club
The Fleet Feet Running Club’s mission is to foster a lifetime passion for running and walking by
providing inspiration, motivation and know-how. We cater to all abilities, paces and levels of
experience.
We currently run four days a week:
- Monday – Recovery Run: 6:30 PM from both Fleet Feet Pittsburgh’s Bakery Square and South Hills locations (3 miles)
- Wednesday – Track Club: 6:30 PM at the Schenley Park Oval (structured interval session)
- Thursday – East End Pub Run: 6:30 PM from Bakery Square (routes of 3 and 6 miles)
- Sunday – Long Runs: 7:30 AM from various locations (routes of 3, 6 and 10 miles)
About Fleet Feet Pittsburgh
Fleet Feet Pittsburgh is the go-to store in the Pittsburgh area for anyone who spends time on
their feet. Whether you are running, walking or standing for long periods, everyone can benefit
from being properly fitted. With our fit ID® scanner, we create a 3D scan of your feet and
recommend the best shoes and insoles for your needs.
-Andrew Zentgraf: Fleet Feet Pittsburgh – Community Outreach Manager