Hey Union Fitness gang!
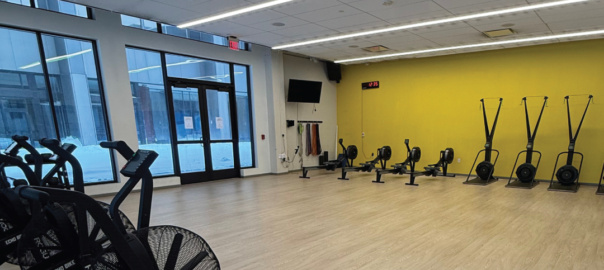
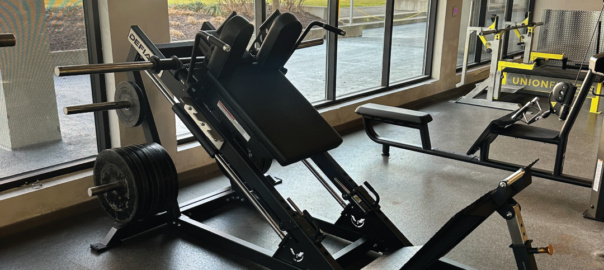
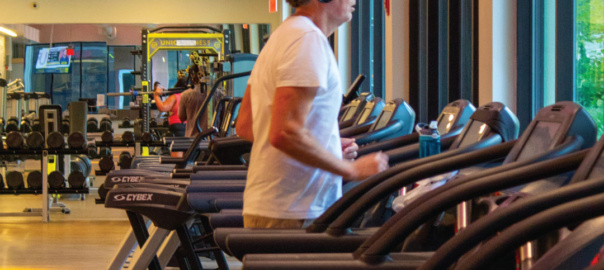
I’m sure most of you have seen the new equipment we’ve brought in and hopefully have enjoyed incorporating them into your training. Along with this, we’ve also consolidated our membership to just two tiers, allowing full open gym access to all levels. Due to both of these reasons Isaac and myself have taken the time to post some tutorial videos on our social media platforms. These can be found under the “Tutorials” icon at the top of our Instagram page and under the “Reels” section of our Facebook account.
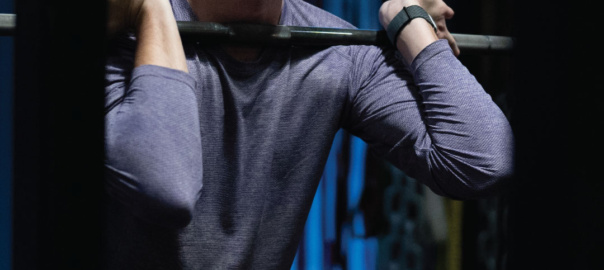
The purpose behind these tutorials is to assist, and learn how to properly use some of our new equipment along with preexisting equipment that may be more complex. In these videos you can expect to find safety features, proper setup/adjustment, and how to perform the movement. Adjustment on most machines will be determined by height and body structure. If something is new to you feel free to ask myself or any of the staff to determine a correct fit.
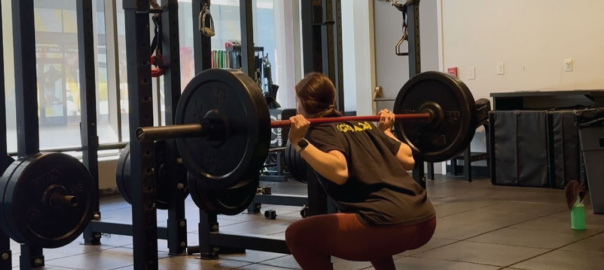
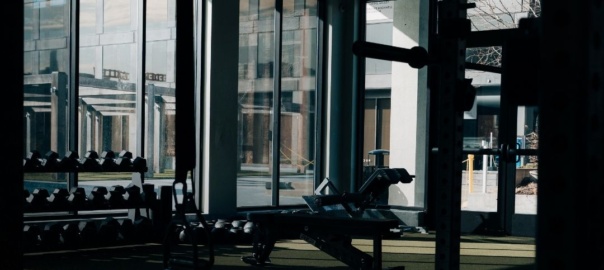
Most equipment in the gym is suitable for all skill levels; the main exception from this is the monolift squat rack. The monolift can be a very helpful tool for heavy squat sessions and working with specialty bars. Due to this, it has several safety and adjustment features. The monolift is supported by a hydraulic jack, so please make sure you fully understand how to operate and make adjustments to the rack before using. The great news is, we have over a dozen additional racks throughout the gym that are suitable for all levels of lifters!
If you have questions or think we missed any pieces, feel free to reach out with tutorial ideas, or find us to show you in person!
-Tristan Hillebert